My friend Lisa told me about the competition Hillary's blinds are running, you pick from 4 lovely fabrics in their new range (I know I never thought of them selling fabric either) and they very kindly send you a piece 100cm square to make something, anything with and blog about
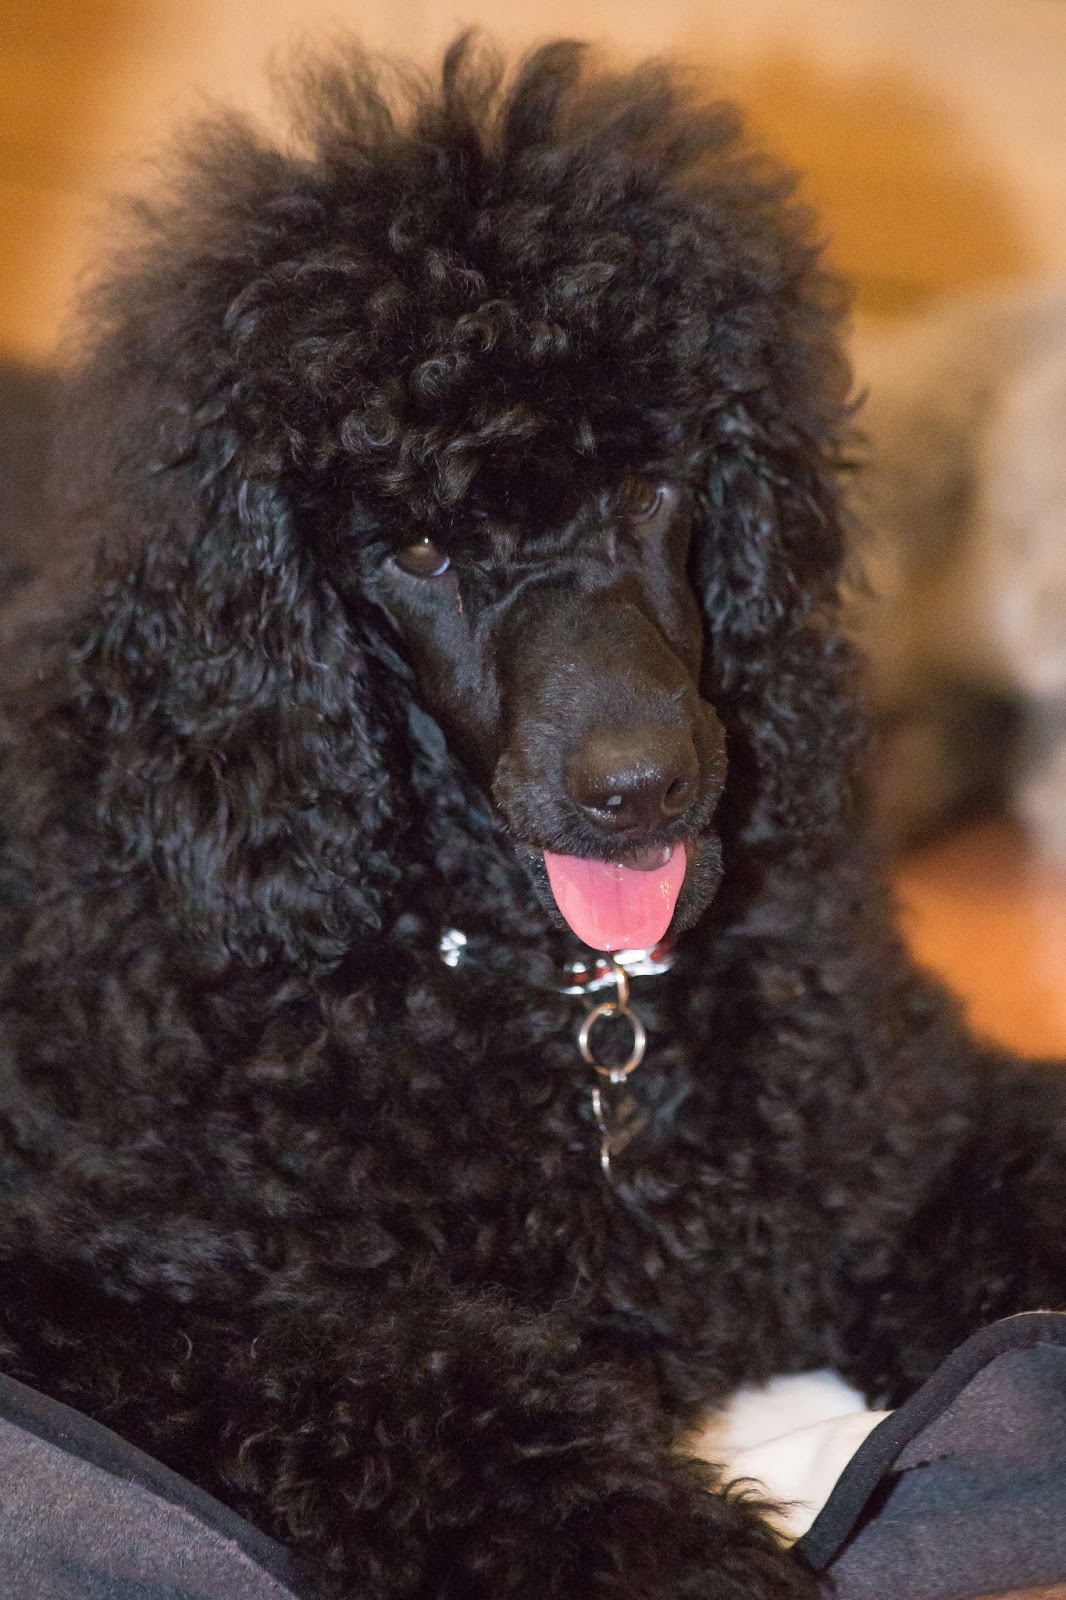
I chose the Patina Pewter and its even nicer than the photo. The hounds tooth pattern made me think of our own hound, Nigel, the not-so-miniature-poodle!
So, first up was a fabric covered photo frame to hold his photo. I cannot claim to be a great photographer and black poodles just come out like a ball of fluff on most photos, but a very kind friend took some great pictures of him at Christmas
I found a frame and glued some batting to it to pad it out a bit, then draped some muslin (any old plain fabric will do) and marked up the corners and the aperture
I used this as the template to cut into my fabric. I cut some bone shapes out of Heat and Bond with the Silhouette die cutter but to be honest a bone shape is not really hard to draw!
I then ironed these to some wool felt and blanket stitched them on. I used a glue gun to stick the fabric to the frame, and edged inside the aperture with grosgrain ribbon
But I had lots of fabric left so onto the next project...
Nigel has been pinching his leads (leashes if you are in the USA) from the shelf every time he thinks we need to be taken for a walk so I made this lined bag to button over the bannister to keep them out of his reach
To make one similar you need to cut 2 pieces of the main fabric, and 2 of the lining, and 2 from fusible fleece- all 10" high by 12" wide.
I used my Silhouette Cameo again and a free bone shaped font I found on the web to cut a stencil from Freezer paper (you can buy it on eBay or Amazon in the UK). Make sure you have it shiny side down on the cutting mat.
You can then iron it onto the fabric, don't worry it peels off easily.
Using fabric paint and the foam side of a kitchen scourer (I couldn't find a little paint brush) I dabbed the paint on. To get the bronze-ish colour I mixed purple and yellow metallic sheen paints, then ironed them to set the colour once they were dry.
Once you have finished any embellishment then iron on the fusible fleece to the main fabric, or the lining it doesn't really matter.
Put the right sides of each pair together and sew along both short sides and 1 long side. The next bit is a little tricky to explain ,but I wanted a boxy shaped bag without putting in a gusset. Pinch the corners so the side seam lays on top of the bottom seam and you have a triangular point , like this
Measure up from the point1 1/2" inches and draw a line across, this is the line you will stitch, then cut off the triangle. Repeat for the lining.
Now cut a strap from your main fabric 14" x 5", I used iron on interfacing to give mine a little more body. fold in half long ways and sew one short edge and all down the long edge. Turn the right way out and top stitch close to the edge. You may find it easier to pick out your button now and sew the buttonhole at the end of the strap.
Now to put it all together. Stitch the strap to the back of the bag halfway along the top edge. Slip this bag inside of the lining fabric bag with right sides together
Match up the side seams and pin then sew all round-leaving a gap to turn the bag through. I always under-estimate how much space I need to turn things out and usually end up widening the whole with a seam ripper so I will leave it to your better judgement how big a gap to leave!
Turn through and topstitch round the top taking care to fold the edges in where you left it open. Add a button to the front and you are done!
But I still had fabric left, so I made another using the same method, but with 2 longer straps to hold Nigel's "upstairs" toys because I am fed up of tripping over them in the dark! I made the straps quite long so he can reach to get the toys out- yes I think training him to put them back again when he has finished playing might need more advanced training!
The measurements for this bag are 18" wide by 11 1/2" high, the straps are 20" x 5"
Next was a dog treats bag, to take to obedience classes. I made the lining an inch taller than the outer fabric and made a drawstring from ribbon
The size for this one was 6 1/2" wide by 6" high (outer fabric) and 7" high for the lining.
With the strange shaped piece I had left I decided on my largest project., a cover for Nigel's crate. He sleeps in here at night, or if I have to pop out without him so I wanted to make it nice and cosy for him.
Don't be fooled by the photo, the top is already covered with junk again but for almost half an hour I could admire it just like this.
The fabric is some weird polyester stretch knit I had been given a bin bag full of short-ish lengths of. Its not a good colour to make clothing from, think sack of potatoes, but it was neutral enough to fit in ok with the dining room/sewing room décor. It didn't stretch too much and was quite a heavy weight so it seemed up to the job. Most importantly it went well with the Patina Pewter colours
My helper was not impressed with me moving his crate around so much so picked the most awkward place he could to nap (see, black blob photography)
I'm not going to give a long boring tutorial for this-its basically a set of rectangles using the measurements of your crate. I used a strip of the Hillary's fabric across the front but didn't have a long enough piece to continue the line round the sides, hmmm better planning at the beginning would have been advisable!
I got round this with a little patchwork border at the sides
and finally stitched some bones to the front. I drew a bone shape free hand on Heat and Bond and fused them to the fabrics.
Or so I thought.
I had actually picked up the pack of Heat and Bond Laminate and fused that to the back of each bone instead-oops. But it did bond well to the fabric and has given me an idea to make a laminated fabric mat for Nigel's food bowls, see every cloud has a silver lining!
Once I had corrected this with ordinary interfacing they were satin stitched to the front.
Thank you Hillary's for the beautiful fabric, it gave me the push I needed to get on with the projects on my list!